PPA Tutorial - Part 1 - Installing Eclipse and PPA
In this tutorial, you will install Eclipse and PPA and you will print the abstract syntax tree of a partial program without writing a single line of code. Magic is everywhere indeed.
If you have any question or comment about this tutorial, do not hesitate to contact me,
Barthélémy, at: bart at cs dot mcgill dot ca.
Prerequisites
- This tutorial assumes that you have Java 5.0 or 6.0 installed on your computer.
- Although you do not need to know anything about Eclipse or PPA, you should be familiar with Programming Language concepts such as Type Hierarchy and Abstract Syntax Trees.
Installing Eclipse
- Go to the Eclipse Download Page and download Eclipse for RCP/Plug-in Developers for your platform (e.g., Windows or Linux). The latest version of PPA works with the current version of Eclipse (Galileo - 3.5) so you will be fine downloading the default version.
- Unzip Eclipse in a folder (e.g.,
/home/bart/eclipse) and starts the main program (eclipse on Linux or eclipse.exe on Windows). - Eclipse will ask you to select a workspace location. The workspace is a directory in which Eclipse
will save your projects and source files so you should have writing permissions. Once you have selected
a workspace location, you should see a welcome screen like this one:
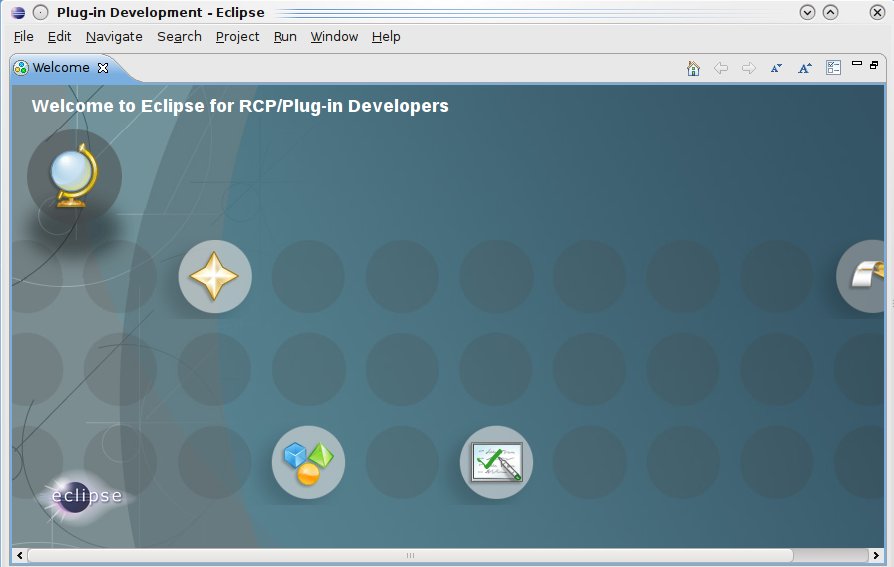
- Close the welcome screen. You should see the Package Explorer view on the left.
Installing PPA
- In Eclipse, select the menu
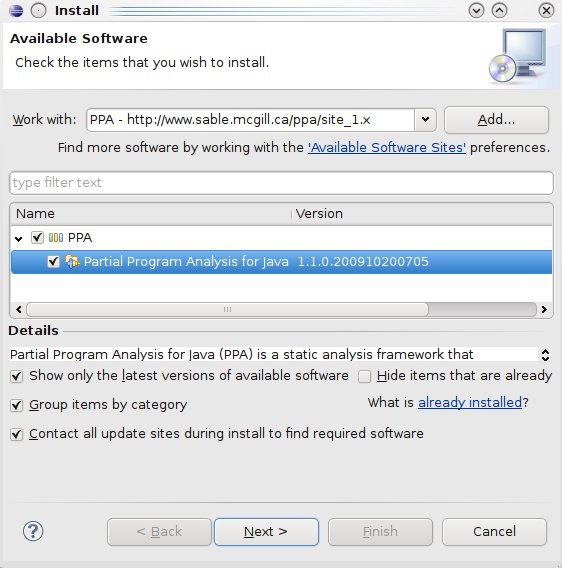
Help / Install New Software... - In the Work with text box, enter
http://www.sable.mcgill.ca/ppa/site_1.x, and push on theAdd...button. A dialog will appear: choose a name for the PPA Update Site (e.g., PPA) and push on theOKbutton. - In the main list view of the Install dialog, you will see that PPA is now available. Select PPA and
click on
Next:
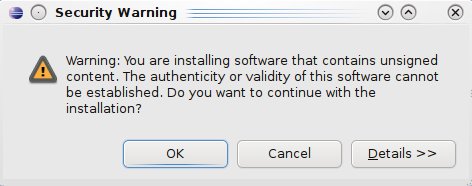
- Proceed with the next steps by reading the license and accepting it. Eventually, Eclipse will warn
you that the content is not signed. Simply select
OKif you trust us :-)
- Once PPA is downloaded and installed, Eclipse will ask you if you want to restart Eclipse. This is
a necessary step so click on
Yes. PPA is now installed!
Running PPA
- For the last part of this tutorial, you will create a partial program and you will use PPA to infer the types of the various expressions in the program.
- Create a project named "MyFirstProject" (right-click on the package view and select
New /
                Project...
, thenGeneral / Project) - Create a file name
A.javain the new project (right-click on the project and selectNew / File). -
Open the file and copy this partial program into
A.java:
package test.ppa; class A extends B { public boolean methodA() { int index = 0; C varC = new D(); E varE = new E(); varC.field1 = index; varC.method2(varC.field1,varE); methodB(index,varC.field2); return varE.checkThis(); } private void methodB(int param1, F param2) { } private void methodB(G param1, H param2) { } } - Right-click on
A.javaand selectPPA / Run PPA (File). A console view will open with the nodes of partial program. - Most expressions are listed in the console. For each expression, PPA prints the type and the
signature of the expression:
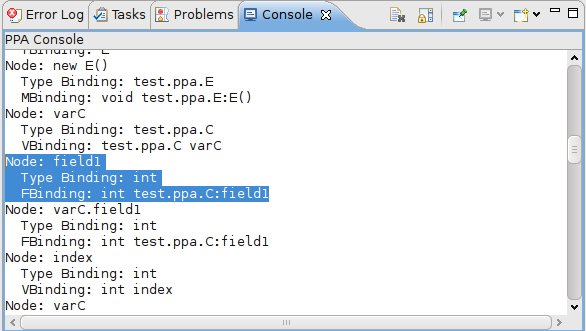
- For example, the type of
field1isintand its signature isint test.ppa.C:field1.
Next steps
Do not hesitate to explore and try PPA with various Java source files. For example, you can try to write many Java files that depend on each other (but that are not complete) and run PPA on one of the file.
You can also try to write some Java code in a text file and run PPA (the menu will say "Snippet" instead of Java File).
In the next section, you will learn how to create an Eclipse plug-in. You need to create a plug-in to call PPA's code because PPA is implemented as an Eclipse plug-in and PPA cannot be run without Eclipse.